CO Form Submitter Cloud App documentation
Table of Contents
Purpose of the CO Form Submitter Cloud App
There are situations where you need to make a form submission with data from a Custom Object (CO) Record. This step is not possible to do using Oracle Eloqua’s out of the box features. This is where this Cloud Action comes into play. With CO Form Submitter, you can submit information to an Eloqua or custom form with the CO Record and/or linked entity to it (Contact Or Account) via POST or GET.
This document will show how this Cloud Action can be used inside Program Canvas for Custom Objects.
1) Set-up in Oracle Eloqua
Please follow these instructions to set up this cloud app in your Oracle Eloqua instance.
- Log in to Oracle Eloqua.
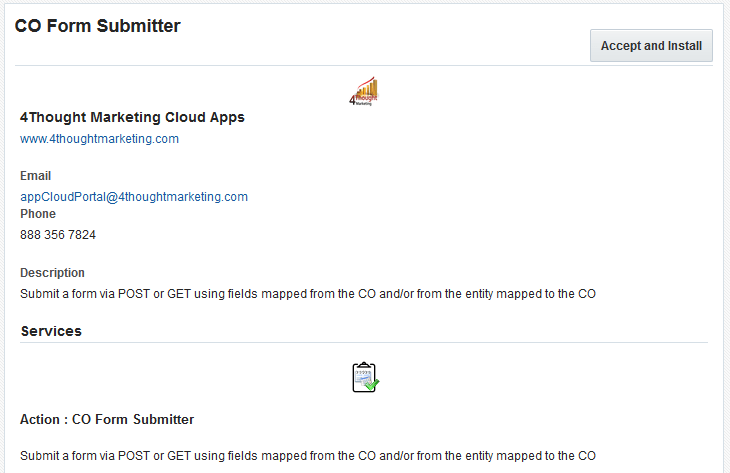
- Click on Get App below to install.
NOTE: If prompted to log again, please do so.
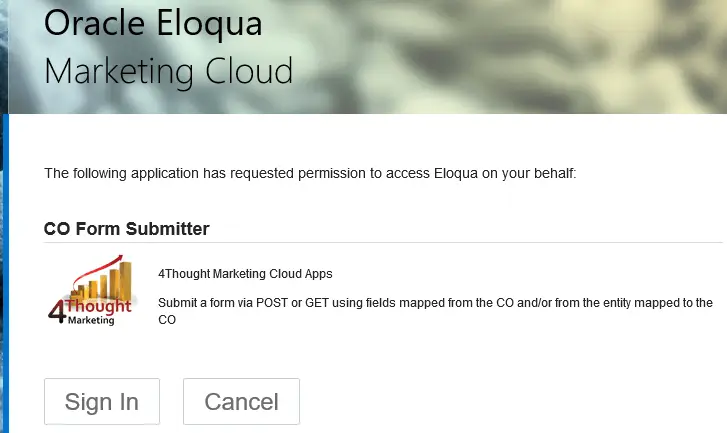
- In the next screen, click “Sign In” and then “Accept”
- In the next screen, click “Sign In” and then “Accept”
- You’re all set. The Cloud Action is ready to be used.
2) How to use
The following instructions show a basic/simple usage. You can incorporate this Cloud Action to any existing Program Canvas for Custom Objects.
- Create/Open a program. Make sure the Program is of the type for Custom Objects.
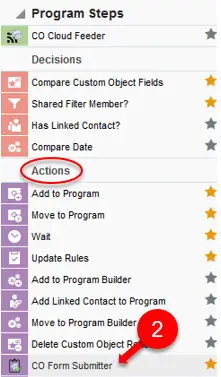
- Click on the arrow at the left side menu to show all the apps available to use
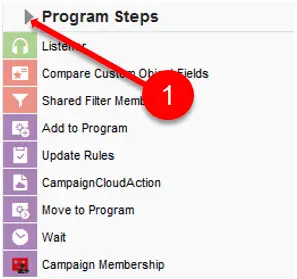
- Under “Actions” locate the CO Form Submitter App (Colored in purple).
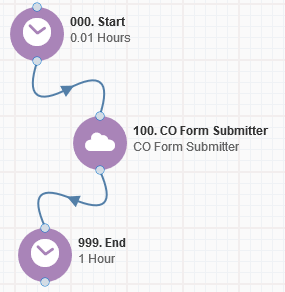
- Drag and drop the cloud action to the canvas area. Connect the corresponding elements to the dropped cloud action
- Double click the CO Form Submitter step, you will see some options for this element.
- Rename the step if needed
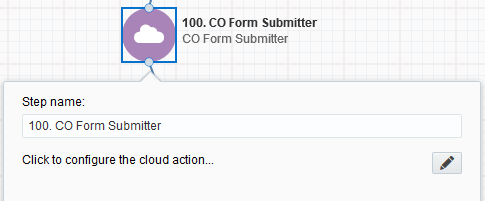
- Click the pencil icon to open the settings for this step.
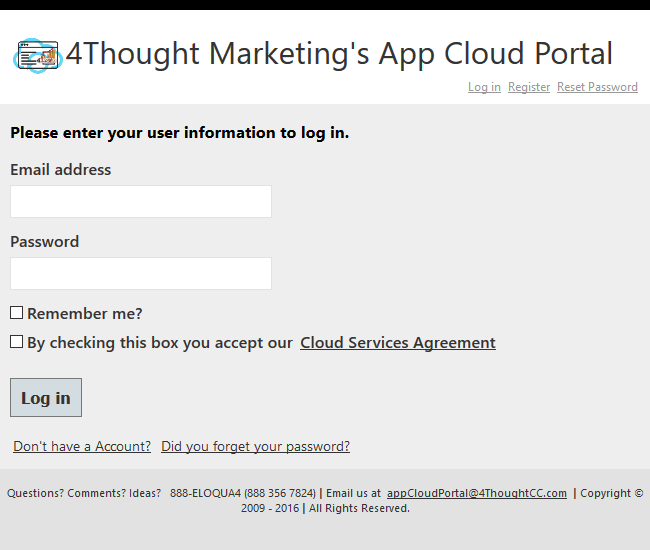
You will need a user to log in and configure this Cloud Action. If you don’t have one, you can create one. If you do, use your user to Log In in the page shown in the following screenshot:
- The initial configuration will look like this:
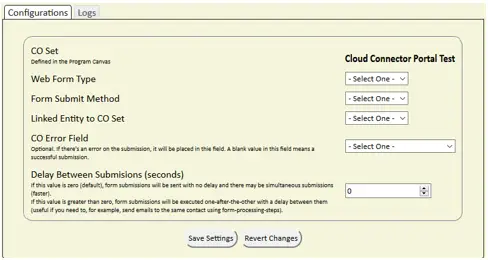
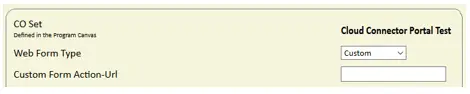
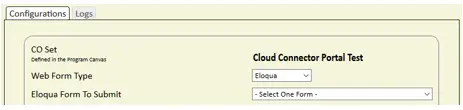
- The first step in the configuration of this App is to first determine which type of form you’re going to be using. The types available are “Eloqua” and “Custom”. Depending on the type you choose, a new field will show up to select the form, if you chose Eloqua, or enter the action URL of the form if you chose Custom.
- The next step is to choose the submission method. This could be either Post or Get. You can choose whichever you prefer but if don’t know which one to use the Post is usually more common and secure than the Get submission.

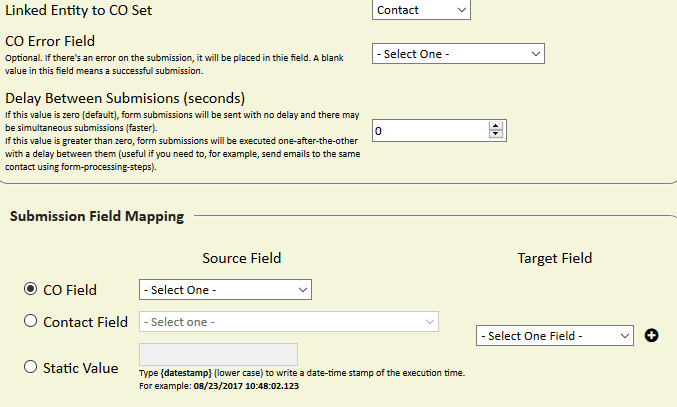
- For the linked entity to the CO set the available options are “Account” or “Contact”. You’ll notice that after selecting a value a new section is available at the bottom of the page. This section is used to select the Mapping (explained further down on point 2.12) of the CO, Account or Contact fields to the form fields. It’s worth noting that if you select Contact, then contact fields will be available to map and if you select Account, then Account fields will be available.
- The last two fields are optional. The field “CO Error Field” is to select a field that will be used in the CO in case an error occurs while submitting the form. The field will be populated with the error message so you can know what happened. If the CO gets reprocessed and the submission is successful then this field will be cleared out.

- The other optional field is “Delay Between Submissions”. This field is used to determine if all the form submissions should be sent immediately one after the other. If any value other than 0 is specified in this field then the App will wait that number of seconds between form submissions. For example, if 5 COs enter the App at the same time at 10:00:00 AM and there’s a 5 second delay between submissions then the first CO will have a submission time of 10:00:00 AM, the second 10:00:05 AM, the third one 10:00:10 AM and so forth.

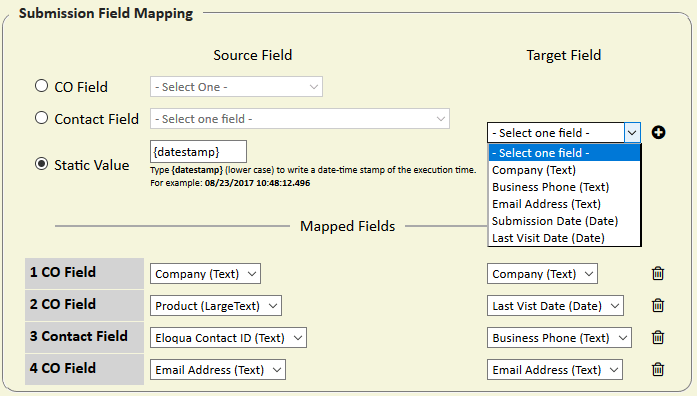
- For the mapping, you need to select first the source field (left column). This field could be taken from the CO set, Contact/Account or a Static Value. To select one, you need to click on the radio button on the left of the type of field you want to add and select the field or enter a static value.
After selecting the source field, you need to select the target field on the form (right column). If you choose to use an Eloqua form then a dropdown will become available with all the form fields. But if you choose to use a Custom form then you need to manually input the HTML name of the field.
To add the mapping, you just need to click the + button at the right of the Target field. You can add as many mappings as form fields are available. If you want to delete a mapping, you can click on the trash bin icon on the right.

- Make sure you click on ‘Save Settings’ to save your configuration. If you make any undesired changes after you can click on ‘Revert Changes’ to go back to the last saved configuration.
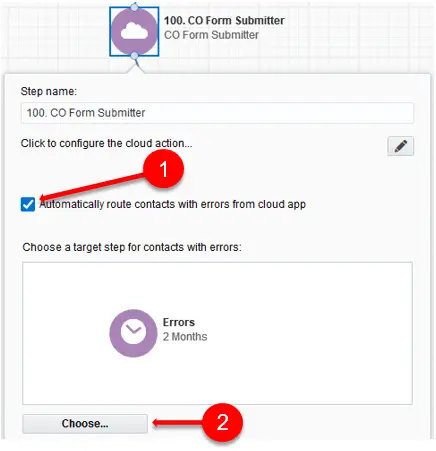
- Recommended: Create an element in the campaign in case an error happens, in this example it’s a Wait Step. Check the box to “Automatically route contacts with errors from cloud app”, select the step where you want the contacts to be routed.
That’s all. Activate the Program, put some CO Records in it and see the CO Form Submitter in action!
License Information
You need a license to configure and execute this Cloud App. If you don’t have a license, an error message will appear on the configuration page.
If you don’t see CO Records being processed by the app, it may be because your license is missing or expired. To obtain a license, contact your account manager or contact us.
- Each Eloqua instance requires a separate cloud app license.
- Each cloud app license includes a reasonable usage limitation of 250k records processed daily and up to 5 app instantiations per Eloqua instance. Higher usage tiers are available at extra cost.
- For additional license details, please review the Cloud Services User License Agreement.