Contact Deleter with Archive Cloud App Documentation
Table of Contents
Purpose of the Contact Deleter with archive Cloud Action
There are situations where you might need to delete Contacts from your Oracle Eloqua database, create a backup of the data but you need it to happen automatically. That’s now possible with this Cloud App.
There may be several reasons to delete Contacts, here are some examples:
- Hard Bouncebacks
- Globally Unsubscribed
- Competitors
- Contacts from certain countries that shouldn’t receive emails (Canada and CASL law)
This document will show how this Cloud Action can be used inside Campaign Canvas.
Set-up in Oracle Eloqua
Please follow these instructions to set up this cloud app in your Oracle Eloqua instance.
- Log in to Oracle Eloqua.
- Click on Get App below to install.
NOTE: If prompted to log again, please do so.
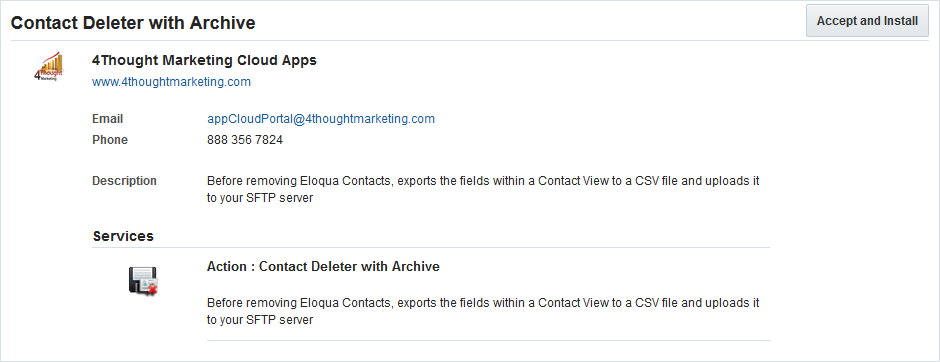
- In the following screen, click “Accept and Install” on the top-right section
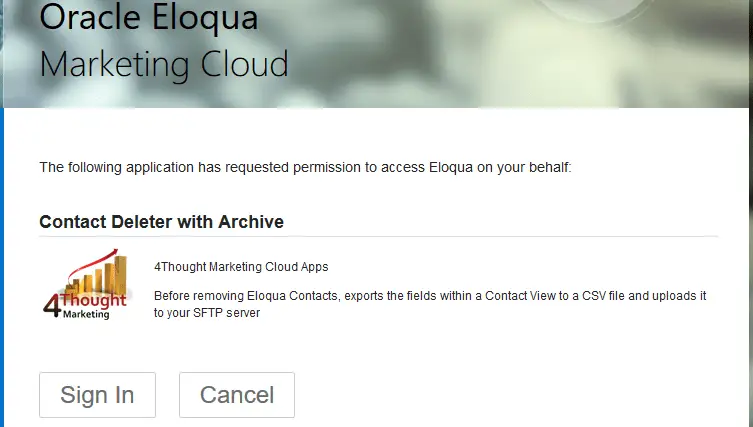
- In the next screen, click “Sign In” and then “Accept”
- You’re all set. The cloud action is ready to be used.
How to use
The following instructions show a basic/simple usage. You can incorporate this Cloud Action to any existing campaign.
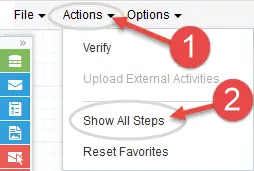
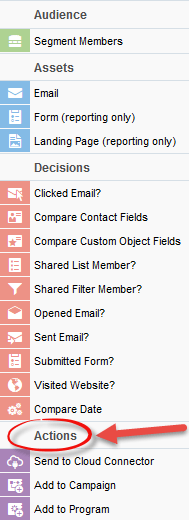
- Click on “Actions” on the top left side then “Show All Steps” and then locate the “Contact Deleter with archive” under the Actions options (colored in purple).
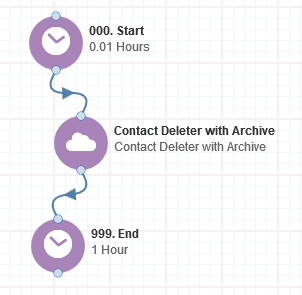
- Drag and drop the cloud action to the canvas area. Connect the corresponding elements to the dropped cloud action
- Double click the Contact Deleter with archive step, you will see some options for this element
- Rename the step if needed
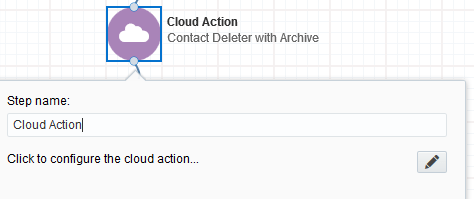
- Click the pencil icon to open the settings for this step.
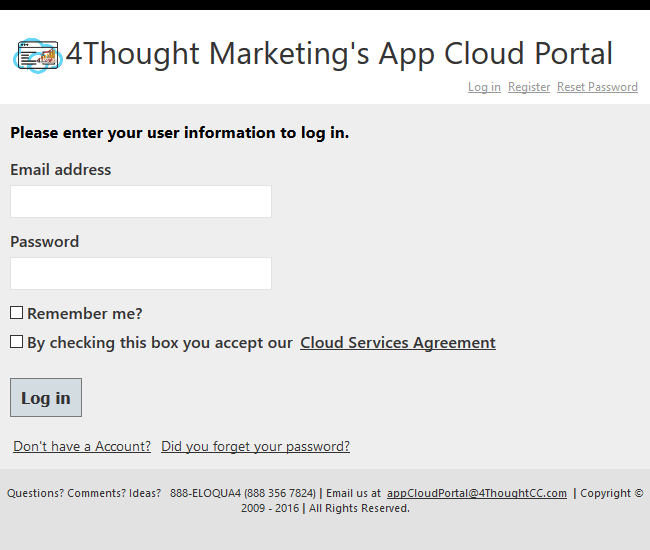
You will need a user to log in and configure this Cloud Action. If you don’t have one, you can create one. If you do, use your user to Log In in the page shown in the following screenshot:
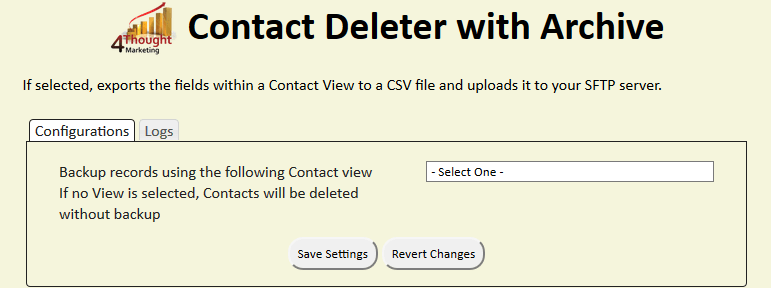
For this cloud action, you can indicate an existing Contact View and backup the Contact Data using the fields in it. If you don’t select a View, Contacts will be deleted without a backup.
When you select a View from the dropdown, you can indicate the SFTP settings (Hostname – can be either an IP or a domain, it can include a folder path/Username/Password), the CSV Settings (Filename, Delimiter, if you want each value surrounded with quotes, file encoding) and the email address to send a notification on success/failure. Additionally you can test the SFTP Credentials by clicking the button “Test Credentials” and it will indicate if they’ve valid or not.
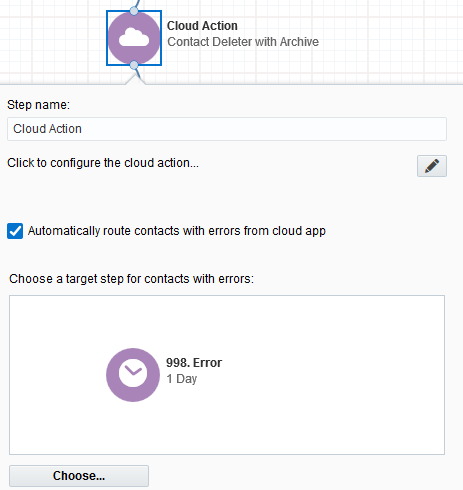
- Recommended: Create an element in the campaign in case an error happens, in this example it’s a Wait Step. Check the box to “Automatically route contacts with errors from cloud app”, select the step where you want the contacts to be routed.
- That’s all. Activate the campaign, put some contacts in it and see the Contact Deleter with archive in Action!
License Information
You need a license to configure and execute this Cloud App. If you don’t have a license, an error message will appear on the configuration page.
If you don’t see CO Records being processed by the app, it may be because your license is missing or expired. To obtain a license, contact your account manager or contact us.
- Each Eloqua instance requires a separate cloud app license.
- Each cloud app license includes a reasonable usage limitation of 250k records processed daily and up to 5 app instantiations per Eloqua instance. Higher usage tiers are available at extra cost.
- For additional license details, please review the Cloud Services User License Agreement.