State/Province Normalization Cloud App Documentation
Table of Contents
Purpose
There are situations where the values of state or province fields greatly differ from each other. Even when those values represent the same place. This is where this Cloud Action comes into play. With State/Province Normalization, you can normalize the values in the state, province, or similar fields using your own standard or a general standardization list that we will provide.
This document will show how this Cloud Action can be used inside Campaign/Program Canvas.
Set-up in Oracle Eloqua
Please follow these instructions to set up this cloud app in your Oracle Eloqua instance.
- Log in to Oracle Eloqua.
- Click on Get App below to install.
NOTE: If prompted to log again, please do so.
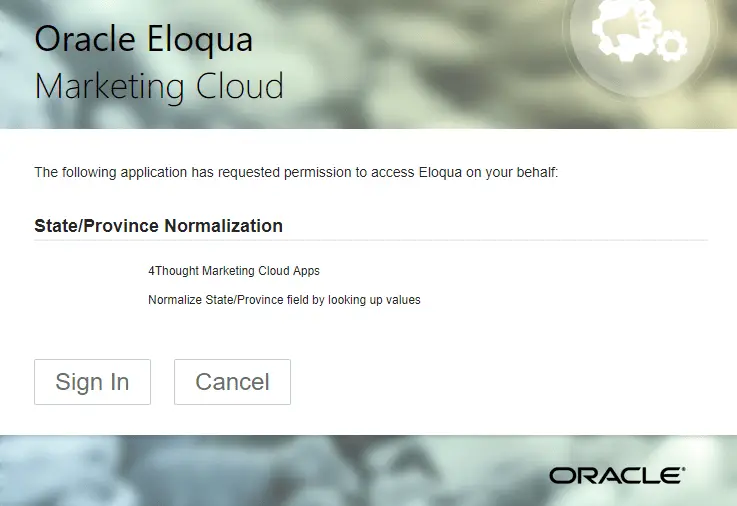
- In the next screen, click “Sign In” and then “Accept”
- In the next screen, click “Sign In” and then “Accept”
- You’re all set. The cloud action is ready to be used.
How to use
This app requires 2 types of configuration, one is the general configuration and the other one an app specific configuration. The following instructions show a basic/simple usage.
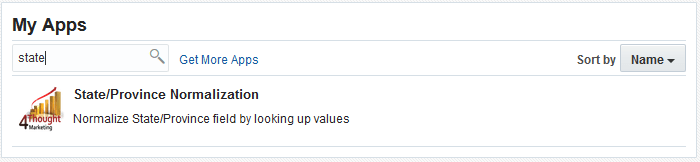
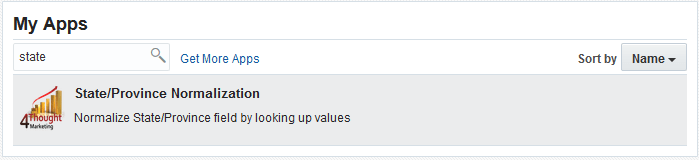
- The first step is to set up the general configuration of the app. To access this section, you need to go into Settings > Apps and search for ‘state’. After locating this app, you just need to click it.
- On the next section, locate the gear icon and click it. This will open a new window with the general configuration.
- The general configuration page of the app will look like this:
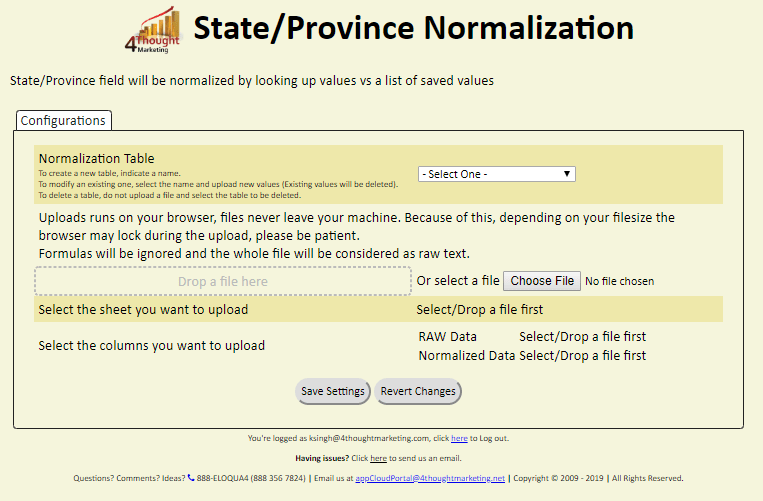
- Normalization Table – This is the table where raw values and normalized values has been defined. If it is already created then it can be selected from the dropdown list or you can create by selecting the option “New – Other” from the dropdown list. (Explained in point no. 2.4.1)
- Select the sheet you want to upload – Normalized data file can be created by using excel/csv type which will have 2 columns i.e. State/Province before Normalization (Raw data) and Normalized data.

This file can be directly dropped into given area (Dashed box “Drop a file here”) or file can be selected from the local machine by clicking on “Choose File” button (Explained in point no. 2.4.2)
- Select the column you want to upload – After choosing file, you need to select sheet from the file and then need to map columns for Raw Data and Normalized Data.
- Raw Data – Raw data column from the sheet will be used as a source.
- Normalized Data – Normalized data column from the sheet will be used here to define Normalized Values.
- How to Select/Create Normalization Table –
You can add, remove or view the tables saved on the system. These tables are the ones that are going to be used in the app.
- Select the option New-Other to create new table and give name to the table in “Type a Table name” field.
- Choose the file from the location you saved it before and select the sheet to be having raw values and normalized values.
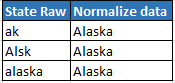
(You can upload the Custom list with the values to normalize. You can upload an Excel file or a CSV by searching for it on your computer or by dragging and dropping the file into the dashed box in the page. This list needs to have 2 columns: Raw value, and Normalized values.
The first column is the list of values that need to be normalized. For example, if you want to normalize State/Province Alaska, then the first column should look something like this: ak, alaska etc.
The second column should be the normalized value we want. So, for example, if you want to normalize to Alaska or AK, then the last value should be Alaska or AK for the 2 variants of the State/Province.)
- Select the sheet from the list uploaded
- Select the RAW Data from the list uploaded
- Select the Normalized Data Column from sheet for Normalize Values.
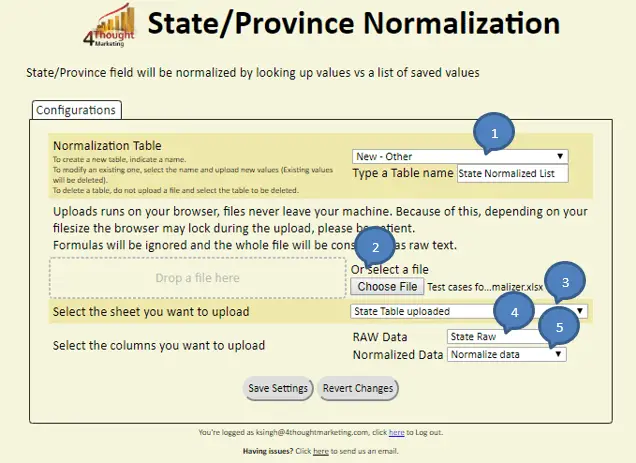
- Lastly, you need to click on the ‘Save Settings’ button. You can check that the new table was added by clicking on the drop-down list menu from the first section.

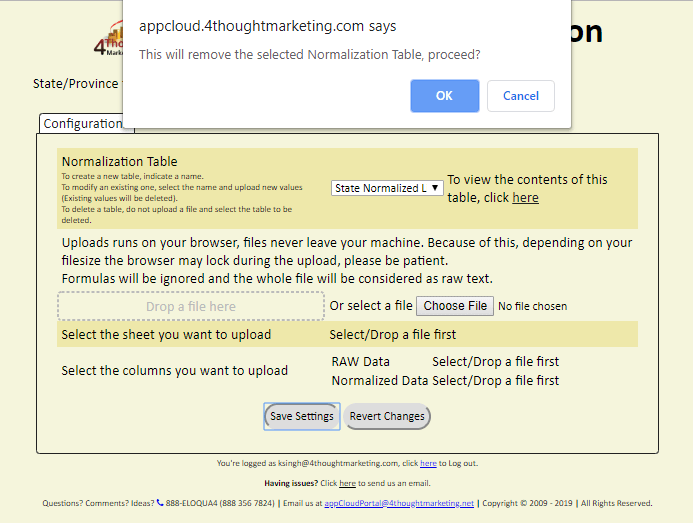
- To remove a table, you just need to select the one you want to delete and click the ‘Save Settings’ button. A confirmation dialog will appear confirming that the table will be deleted. Please note that tables that are already being used in an app on a campaign or program canvas will not be deleted.
- To view the contents of a table:
- Select the table and right next to the drop-down list a text will appear with a link to view the contents. You need to click the link and a new window will appear with the table’s contents.

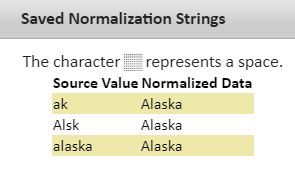
- On this window, the contents of the table will be visible. Sometimes blank (space) characters are relevant. To represent the blank character we’ll use the following symbol ‘░’. On this window, you can also export the values of the table into a CSV file.
- You also can use the general list provided by 4Thought Marketing.
- Make sure you click on ‘Save Settings’ to save your configuration. If you make any undesired changes after you can click on ‘Revert Changes’ to go back to the last saved configuration.
- After saving the table(s) that you uploaded or if you decide to use the general list provided by 4Thought Marketing, you can proceed to include the app in a Campaign or Program Canvas.
- Create/Open a Campaign or Program. Make sure the Program is of the type for Contacts.
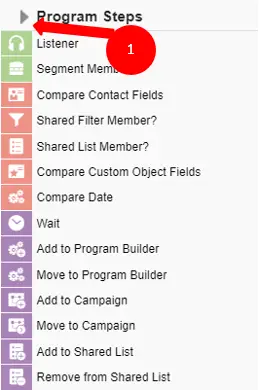
- Click on the arrow at the left side menu to show all the apps available to use
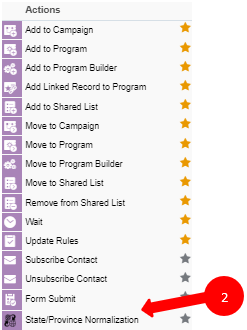
- Under “Actions” locate the State/Province Normalization App (Colored in purple).
- Drag and drop the cloud action to the canvas area. Connect the corresponding elements to the dropped cloud action
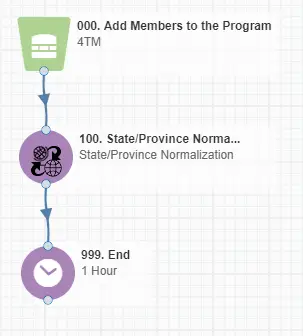
- Double click the State/Province Normalization, you will see some options for this element.
- Rename the step if needed
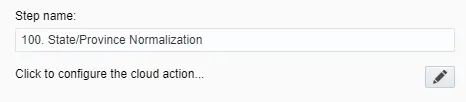
- Click the pencil icon to open the settings for this step.
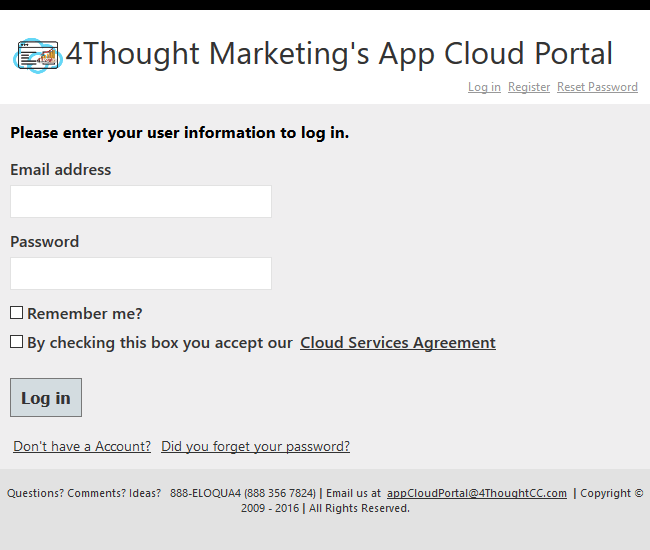
You will need a user to log in and configure this Cloud Action. If you don’t have one, you can create one. If you do, use your user to Log In in the page shown in the following screenshot:
- For this cloud action, you can indicate the Normalization table, Source field and Destination field to execute the normalization process
- Select the already created normalization table or create a new normalization table by selecting option ‘New – Other’ from the drop-down list.
- Select Source Contact Field for raw data.
- Select Destination Contact Field to store data after normalization.
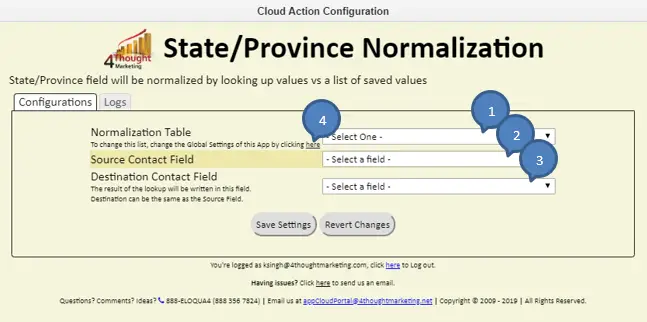
- To change the normalization Table values or for a new normalization table please click on here as shown in the above snapshot (Bubble no 4).
- Make sure you click on ‘Save Settings’ to save your configuration. If you make any undesired changes after you can click on ‘Revert Changes’ to go back to the last saved configuration.
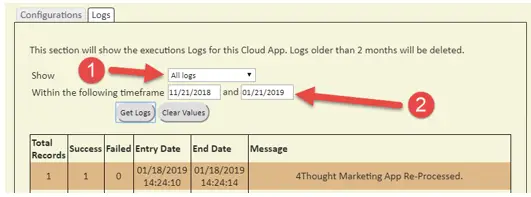
- Logs Tab: This section shows the execution logs for the respective cloud app
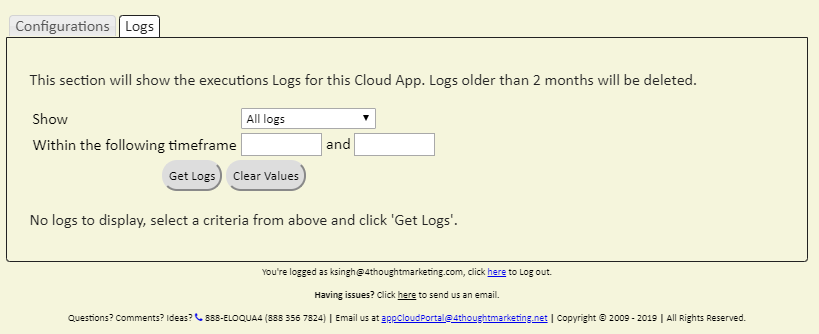
- Show: Here you can select what type of log you want to see, it gives you an option to select “All logs”, “Successful logs only”, “Failed logs only”
- Within the following timeframe: This field allows you to select the timeframe to view the execution logs.
Note: You can view up to 2 months of logs
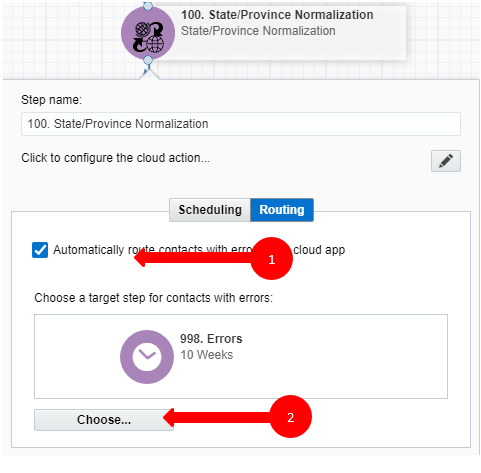
- Recommended: Create an element in the campaign in case an error happens, in this example it’s a Wait Step. Check the box to “Automatically route contacts with errors from cloud app”, select the step where you want the contacts to be routed.
Select the Step where you want the contacts to be routed.
That’s all. Activate the campaign or program, put some Contacts in it and see the State/Province Normalization in action!
Note: Most 4Thought Marketing apps use the Eloqua BULK API to export/import records, therefore when an app is used in a campaign or program the user that activates the campaign should have the following permissions:
- API
- Consume API
- Contacts
- Upload Contacts/Prospects/Companies
- Manage Data Export
- Manage Contacts
- Recommended: Create an element in the campaign in case an error happens, in this example it’s a Wait Step. Check the box to “Automatically route contacts with errors from cloud app”, select the step where you want the contacts to be routed.
Select the Step where you want the contacts to be routed.
License Information
You need a license to configure and execute this Cloud App. If you don’t have a license, an error message will appear on the configuration page.
If you don’t see CO Records being processed by the app, it may be because your license is missing or expired. To obtain a license, contact your account manager or contact us.
- Each Eloqua instance requires a separate cloud app license.
- Each cloud app license includes a reasonable usage limitation of 250k records processed daily and up to 5 app instantiations per Eloqua instance. Higher usage tiers are available at extra cost.
- For additional license details, please review the Cloud Services User License Agreement.