CO Count Cloud App Documentation
Purpose of the CO Count Cloud App
There are situations where you need to know how many CO records exist for a contact that matches a specific set of criteria. This cloud action counts the number of CO Records linked to a Contact and writes the value in a Contact field and/or a field in a specific CO set.
This document will show how this Cloud action can be used inside Campaign/Program Canvas.
Set-up in Oracle Eloqua
Please follow these instructions to set up this cloud app in your Oracle Eloqua instance.
- Log in to Oracle Eloqua.
- Click on Get App below to install.
NOTE: If prompted to log again, please do so.
- In the next screen, click “Sign In” and then “Accept”
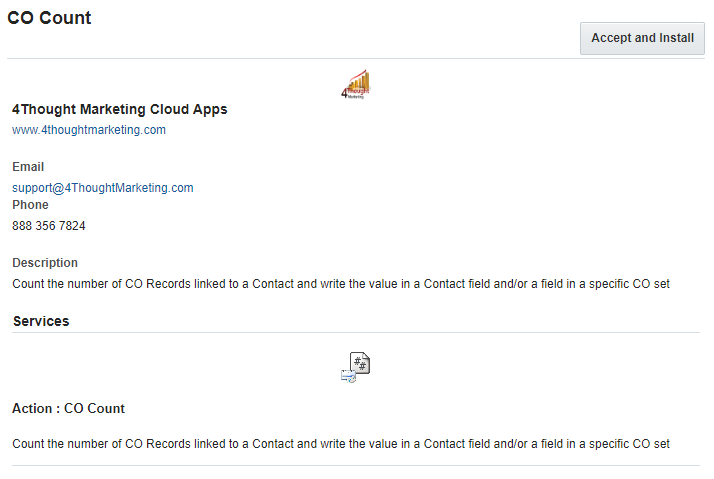
- In the next screen, click “Sign In” and then “Accept”
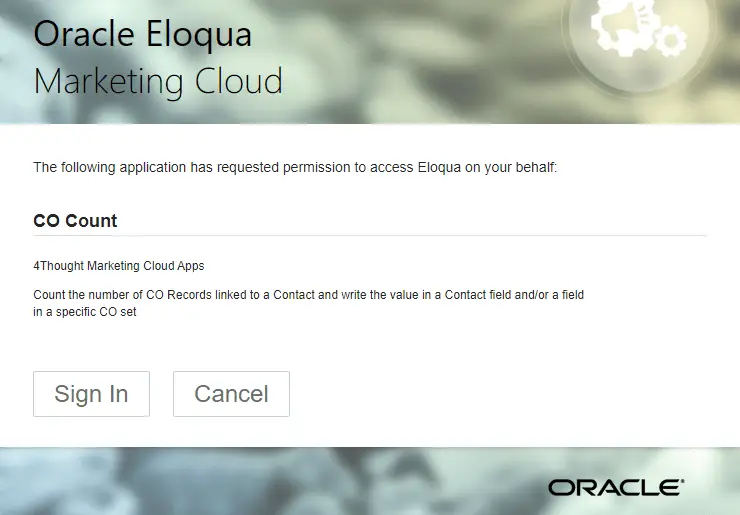
- You’re all set. The cloud action is ready to be used.

How to use
The following instructions show a basic/simple usage. You can incorporate this Cloud Action to any existing Campaign or Program Canvas.
- Create/Open a Campaign or Program Canvas
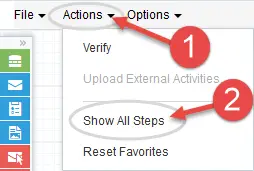
- On “Actions” on the top left side then “Show All Steps” and then locate the “CO Count ” Cloud Action under the Actions options (colored in purple).
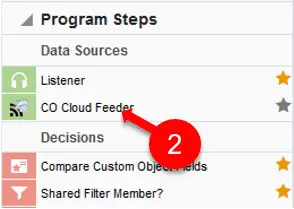
- Under “Data Sources” locate the “CO Cloud Feeder” App (colored in green)
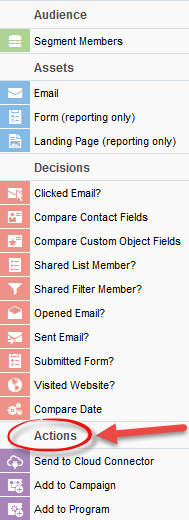
- Drag and drop the cloud action to the canvas area. Connect the corresponding elements to the dropped cloud action
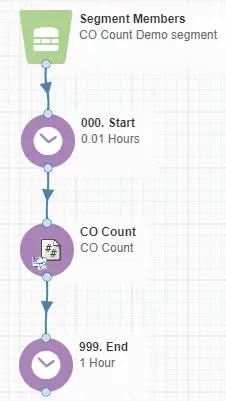
- Double click the CO Count step; you will see the configuration options for this element.
- Rename the step if needed

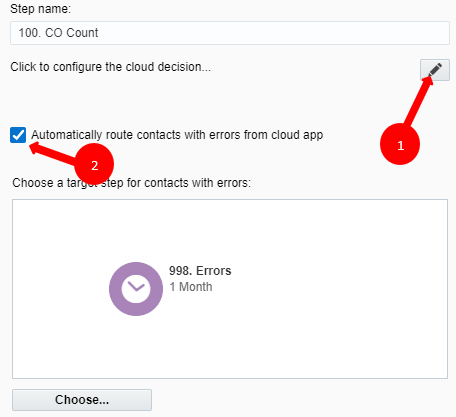
- Click the pencil icon to open the settings for this step.
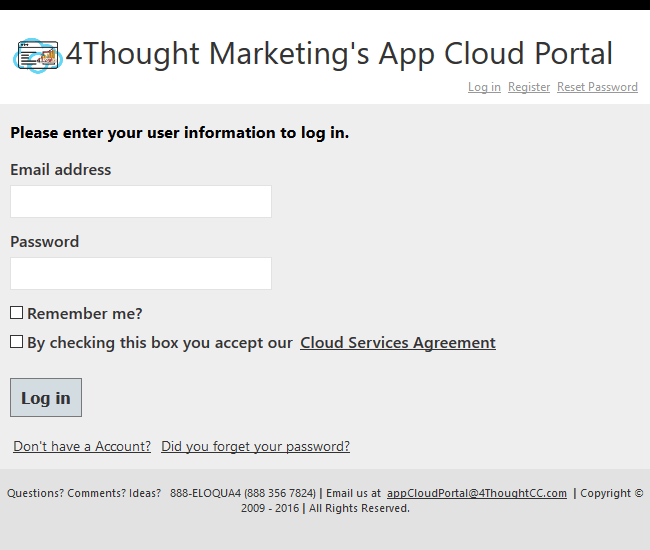
You will need a user to log in and configure this Cloud Action. If you don’t have one, you can create one. If you do, use your user to Log In in the page shown in the following screenshot:
- For this cloud action, you need to select Custom Object (CO) which contains the data that will update the linked Contact records.
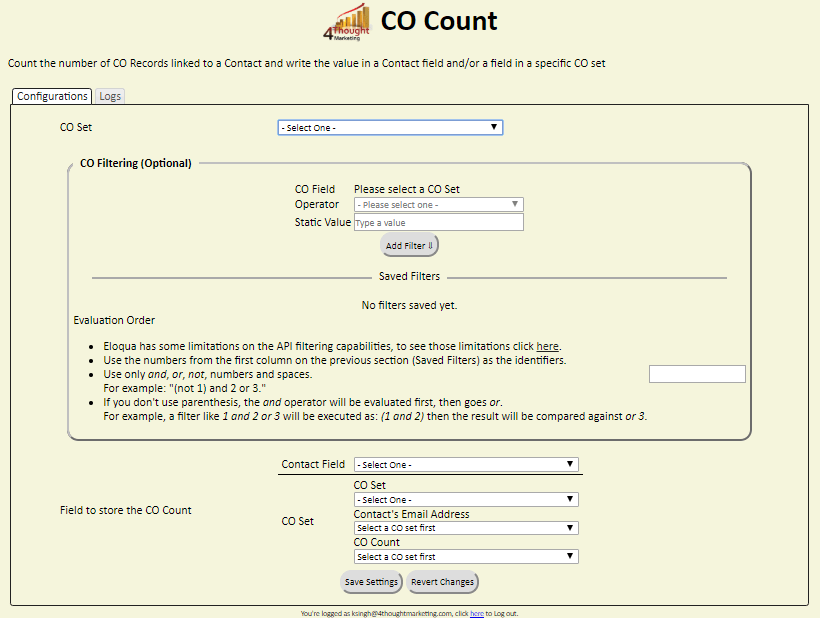
- Select CO set from the list, on which you want to perform action.
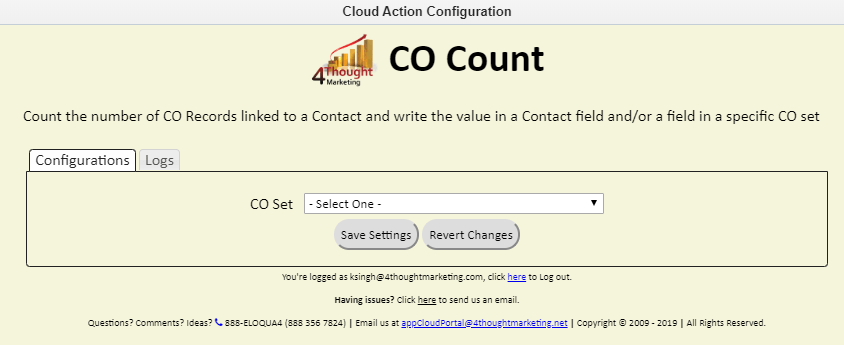
- You can then filter the CO records linked to the Contact Record – this step is not required.
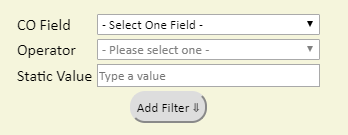
- Select the CO field on which you want to filter
- Select the operator
- Put the value to be compared
- Click on the ‘Add Filter’ button
- You may add additional filters using this process – you can include AND/OR logic as well (see example)
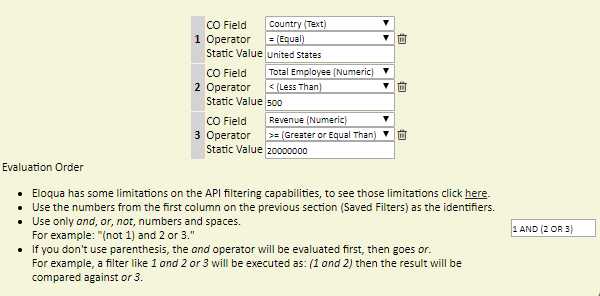
- Next, you need to specify the field in which you want to store the CO Count. This can either be a Contact field or a CO field on a separate CO record
- For a contact field, simply specify the field.
- If you want to store on a CO field, first choose the CO set, the email address field, and the CO Count field.

- Make sure you click on ‘Save Settings’ to save your configuration. If you make any changes you can click on ‘Revert Changes’ to go back to the last saved configuration.
- Logs Tab: This section shows the execution logs for the cloud app
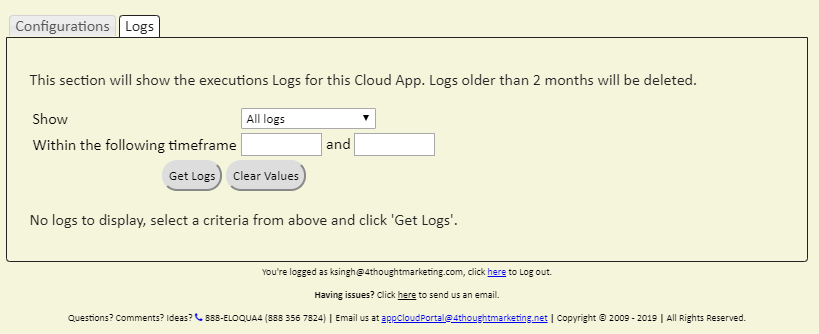
- Show: Here you can select what type of log you want to see. You have an option to select “All logs”, “Successful logs only”, “Failed logs only”
- Within the following timeframe: This field allows you to select the timeframe to view the execution logs.
Note: You can view up to 2 months of logs
- Recommended: Create an element in the campaign in case an error happens, in this example it’s a Wait Step. Check the box to “Automatically route records with errors from cloud app”, select the step where you want the records to be routed.
Select the Step where you want the records to be routed.
That’s all. Activate the campaign or program, put some records in it and see the CO Count in action!
Note: Most 4Thought Marketing apps use the Eloqua BULK API to export/import records, therefore when an app is used in a campaign or program the user that activates the campaign should have the following permissions:
- API
- Consume API
- Contacts
- Upload Contacts/Prospects/Companies
- Manage Data Export
- Manage Contacts
License Information
You need a license to configure and execute this Cloud App. If you don’t have a license, an error message will appear on the configuration page.
If you don’t see CO Records being processed by the app, it may be because your license is missing or expired. To obtain a license, contact your account manager or contact us.
- Each Eloqua instance requires a separate cloud app license.
- Each cloud app license includes a reasonable usage limitation of 250k records processed daily and up to 5 app instantiations per Eloqua instance. Higher usage tiers are available at extra cost.
- For additional license details, please review the Cloud Services User License Agreement.

