Contact Cloud Feeder Cloud App Documentation
Purpose
The Contact Feeder Cloud App allows you to add contacts to a Program Canvas that are in a segment or shared filter using a scheduler. You can configure the scheduler to run regularly all week and all day, or select certain days and times. You can also set the frequency to be as fast as every minute or just once a day, i.e. every 24 hours.
This document will show how this Cloud App can be used inside Program Canvas for Contacts.
Set-up in Oracle Eloqua
Please follow these instructions to set-up this cloud app in your Oracle Eloqua instance.
- Log in to Oracle Eloqua.
- Click on Get App below to install.
NOTE: If prompted to log again, please do so.
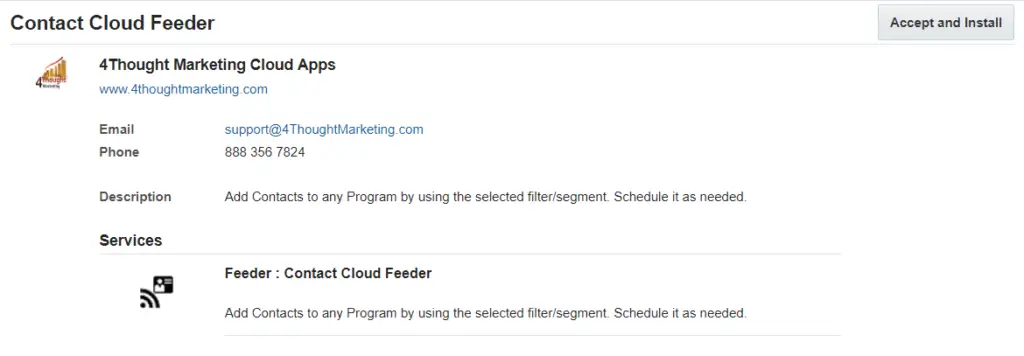
- On the next screen, click “Accept and Install” on the top-right section
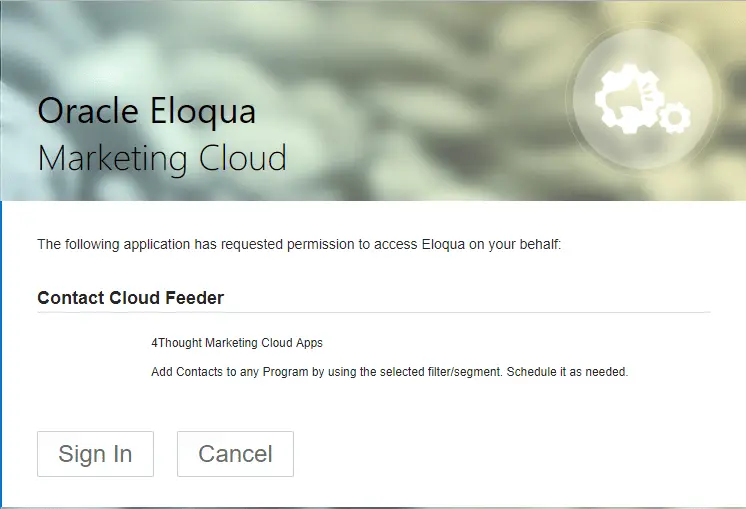
- In the next screen, click “Sign In” and then “Accept”
- You’re all set. The Contact cloud feeder is ready to be used.

How to use
The following instructions show a basic/simple usage. You can incorporate this Cloud App to any existing Program Canvas for Contacts.
- Create/Open Program Canvas. Make sure the Program type is for Contacts.
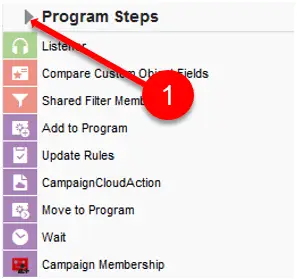
- Click on the arrow at the left side menu to show all the apps available to use
- Under “Data Sources” locate the “Contact Cloud Feeder” App (colored in green)
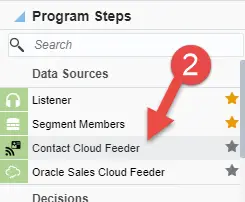
- Drag and drop the cloud app into the canvas area. Connect the corresponding elements to the dropped cloud app
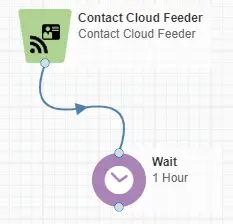
- Double click the Contact Cloud Feeder step, you will see some options for this element.
- Rename the step if needed
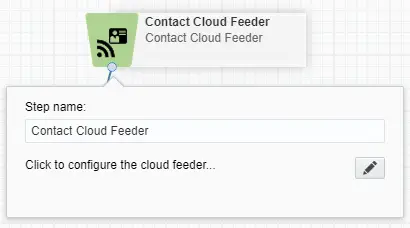
- Click the pencil icon to open the settings for this step.
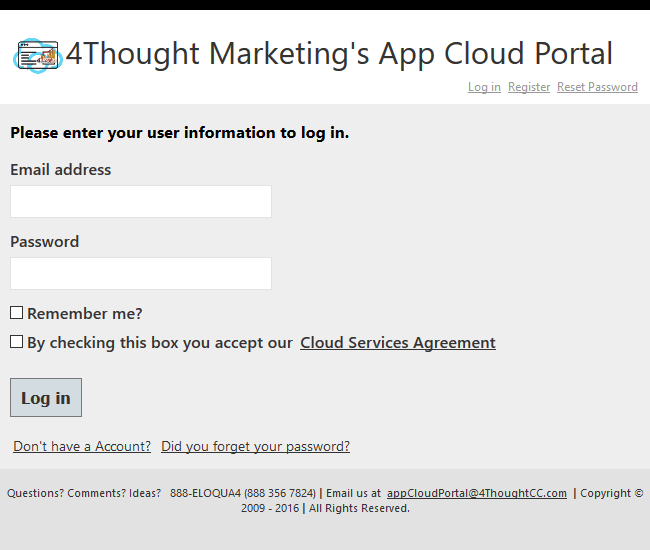
You will need a user to log in and configure this Cloud App. If you don’t have one, you can create one. If you do, use your user to Log In in the page shown in the following screenshot:
- Configure the app by selecting the Segment or the Filter to use as the feeder
- Choose Segment or Filter by clicking on the radio button
- Select the segment or filter from the dropdown list
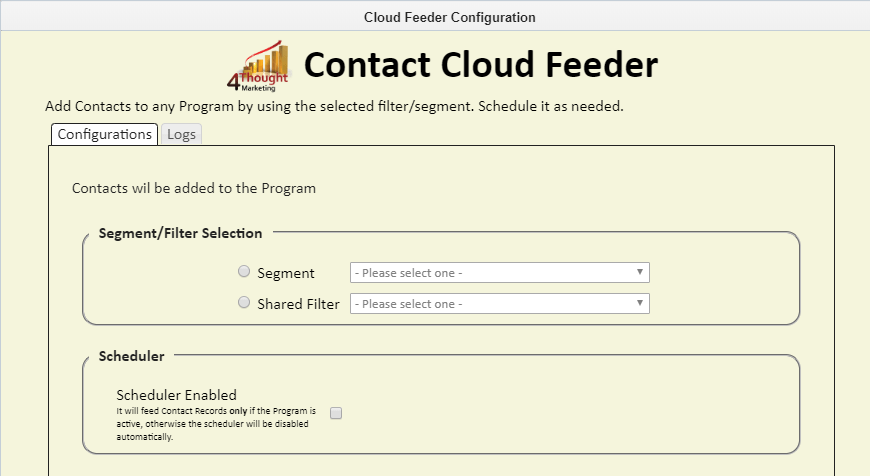

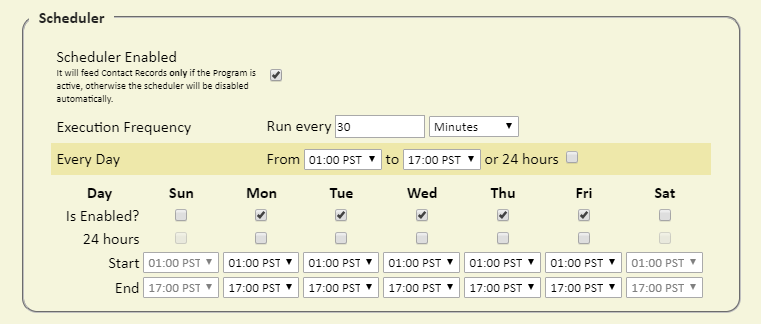
- Scheduler. If you decide to use a scheduler the App will add Contact records into the Program at the specified times and frequency. Otherwise, the App will add Contact records only when the Program gets activated.

To configure the Scheduler, you need to:
- Execution Frequency: Choose how often (you can select hours or minutes)
- Choose time slots in which it should run (select Start time and End times or you can select 24 hours)
- Choose which days (check the days of the week)
- NOTE: Eloqua does not allow adding members to inactive/paused programs. Because of this, if the target Program is inactive/paused, the scheduler will be automatically disabled. Make sure the Program is active so the Contact Records get added to the feeder Step.
- Lastly, there’s a field to add email addresses that will be notified if the App or the Scheduler fails to execute or gets disabled. You can enter several email addresses by separating them using a comma (,).

- Make sure you click on ‘Save’ to save your configuration. If you make any undesired changes, you can click on ‘Revert Changes’ to go back to the last saved configuration.
That’s all. Activate the Program and see the Contact Cloud Feeder add Contact records to it!
- Logs Tab: This section shows the execution logs for the respective cloud app
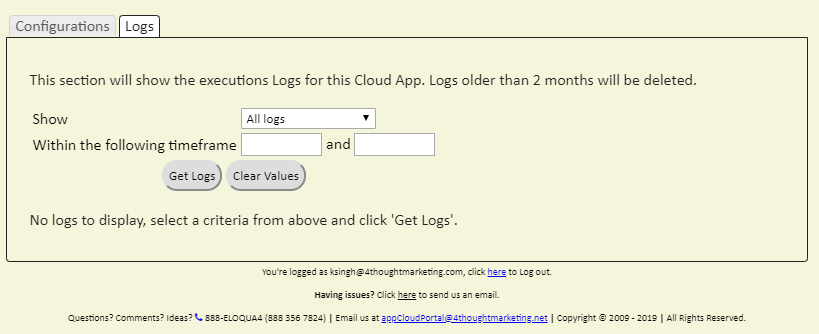
- Show: Here you can select what type of log you want to see, it gives you an option to select “All logs”, “Successful logs only”, “Failed logs only”
- Within the following timeframe: This field allows you to select the timeframe to view the execution logs.
Note: You can view up to 2 months of logs
Note: Most 4Thought Marketing apps use the Eloqua BULK API to export/import records, therefore when an app is used in a campaign or program the user that activates the campaign should have the following permissions:
- API
- Consume API
- Contacts
- Upload Contacts/Prospects/Companies
- Manage Data Export
- Manage Contacts
License Information
You need a license to configure and execute this Cloud App. If you don’t have a license, an error message will appear on the configuration page.
If you don’t see CO Records being processed by the app, it may be because your license is missing or expired. To obtain a license, contact your account manager or contact us.
- Each Eloqua instance requires a separate cloud app license.
- Each cloud app license includes a reasonable usage limitation of 250k records processed daily and up to 5 app instantiations per Eloqua instance. Higher usage tiers are available at extra cost.
- For additional license details, please review the Cloud Services User License Agreement.

