Merge Contacts Cloud App Documentation
Purpose
The Merge Contact App allows the user to take the contact data from one record, merge selected fields with another record and then delete the record. The app also preserves the activity history by writing activities from one contact as External Activities to the Contact record that will remain. The duplicate Contact record will then be deleted after the merge is completed.
This document will show in detail how the App can be used as a standalone function.
Installation
Please follow these instructions to set up this cloud app in your Oracle Eloqua instance.
- Log in to Oracle Eloqua.
- Click on Get App below to install.
NOTE: If prompted to log again, please do so.
- In the next screen, click “Sign In” and then “Accept”

- 1.4 In the next screen, click “Sign In” and then “Accept”
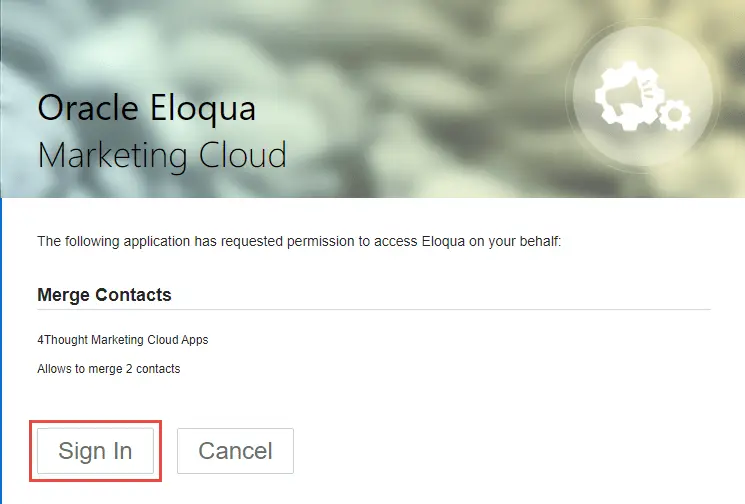
- 1.5 You’re all set. The cloud App is ready to be used.

Configuration
2.1 Click on the Cloud Icon “
” on the top right side to bring up the Apps and then locate the “Merge Contacts App”.
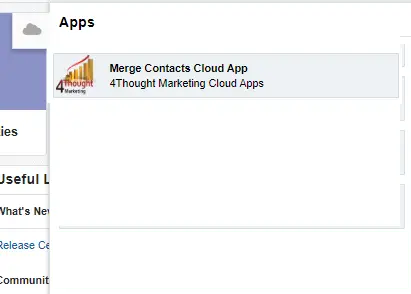
2.2 Click on the Merge Contacts App
NOTE: You will need a user to log in and configure this Cloud App. If you don’t have one, you can create one by clicking on “Register” in the top right of the screen. If you do, use your user to Log In on the page shown in the following screenshot:
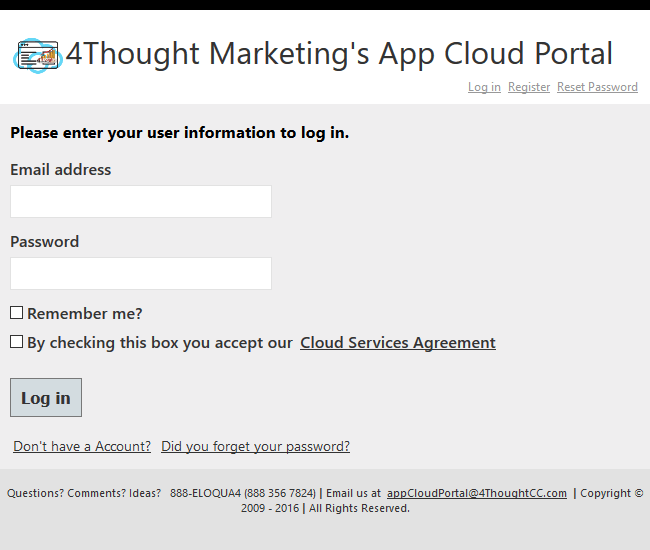
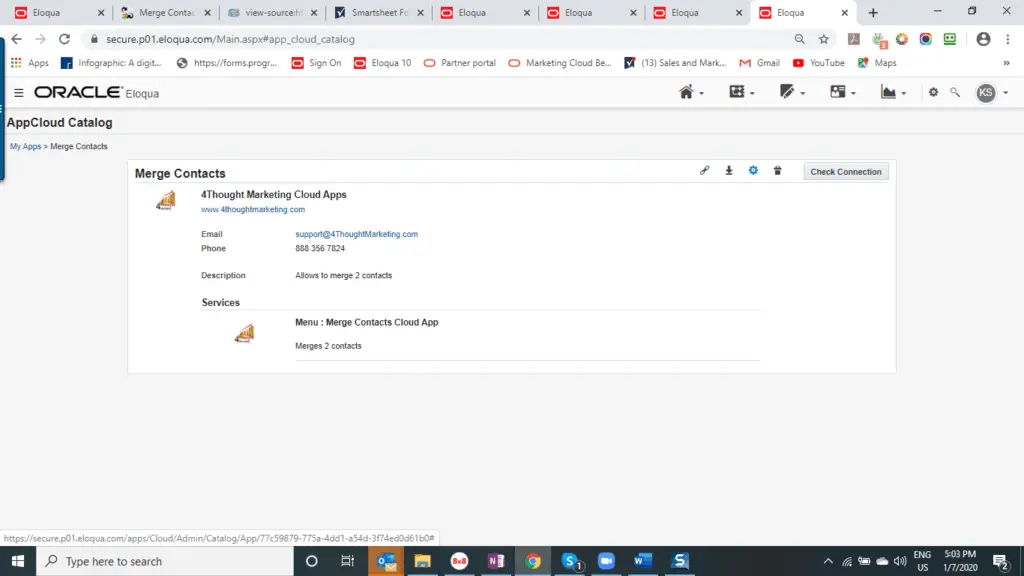
- 2.3 To configure the app, open the app from app catalog and click on the gear icon (see screenshot below)
- 2.4 As the administrator, you will choose which fields can be included in the merge process. Add the Contact fields which you want to want to include in the merge process by selecting them from the drop-down list of all Contact fields. You can also Delete fields that have been previously selected. Finish by clicking “Save Fields”.
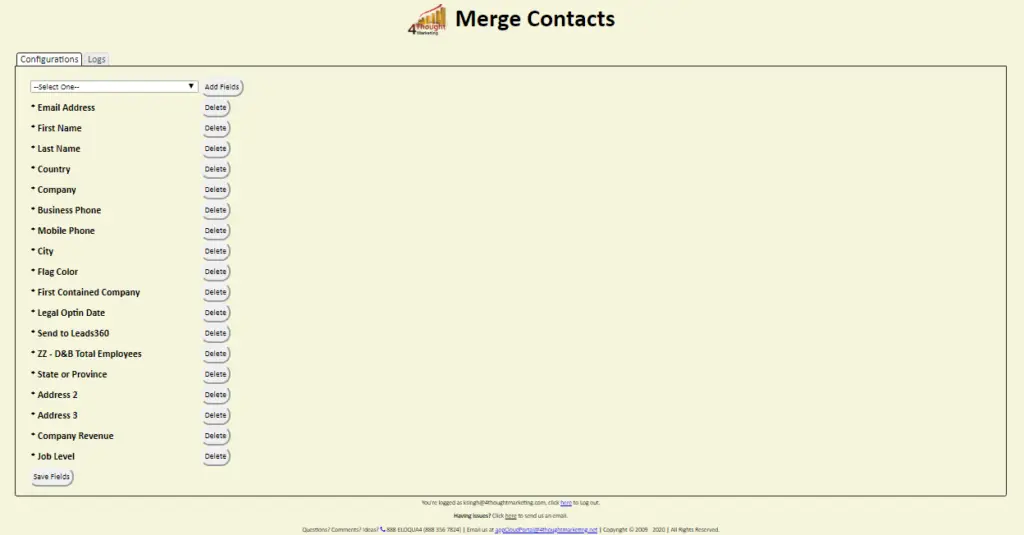
2.5 The first time a merge is completed, the following External Activities are created in your Eloqua instance:
- Campaign Activity – Merge Contact
- Email – Merge Contact
- Form – Merge Contact
- Subscription – Merge Contact
- Website – Merge Contact
Using Merge Contacts App
3.1 From the My Eloqua page Click on the Cloud Icon
“![]() ” on the top right side to bring up the Apps and then locate the “Merge Contacts App”.
” on the top right side to bring up the Apps and then locate the “Merge Contacts App”.
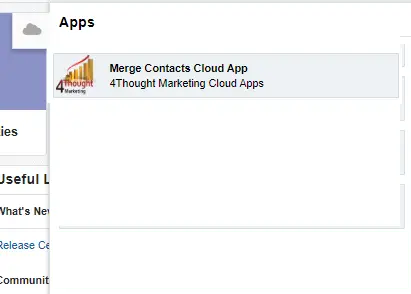
3.2 Select the records to merge
- Enter the email address for Contact A (Contact to be retained)
- Enter the email address for Contact B (Contact to be merged and removed)
- Hit “Search”

3.3 The screen will show the two Contact records side by side, and will have the fields from Contact A selected to be retained.
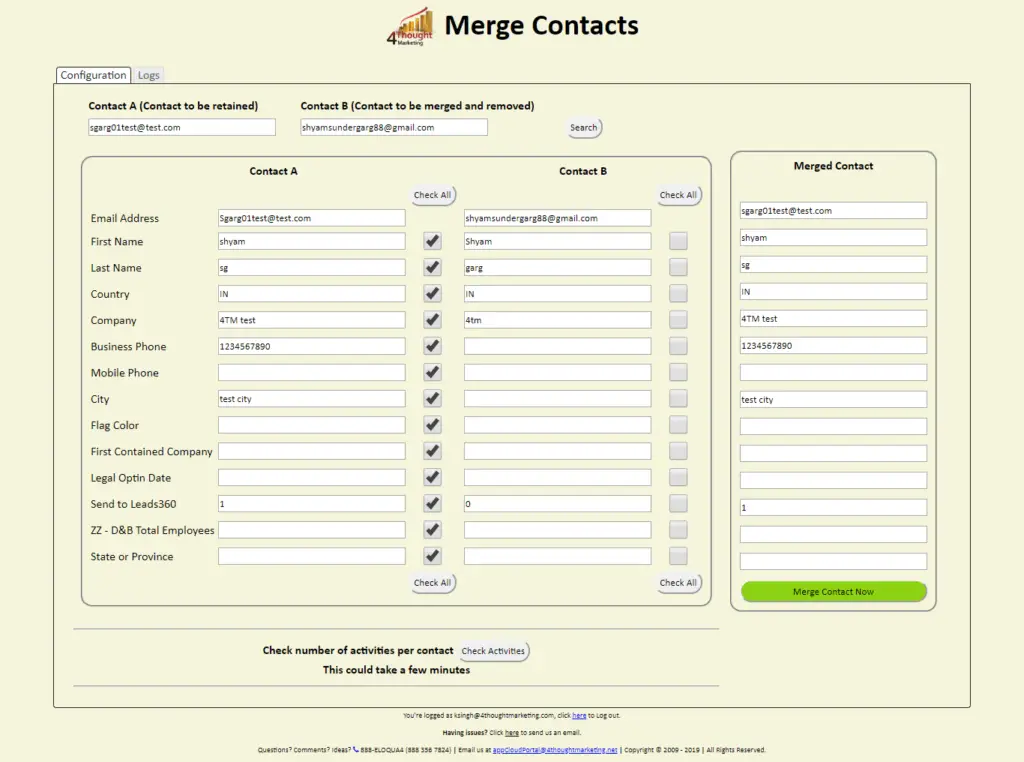
3.4 You can review the data and select fields from Contact B to move data from Contact B to Contact A to be retained in the merged record. The screen will display the data that will be stored in the merged record.
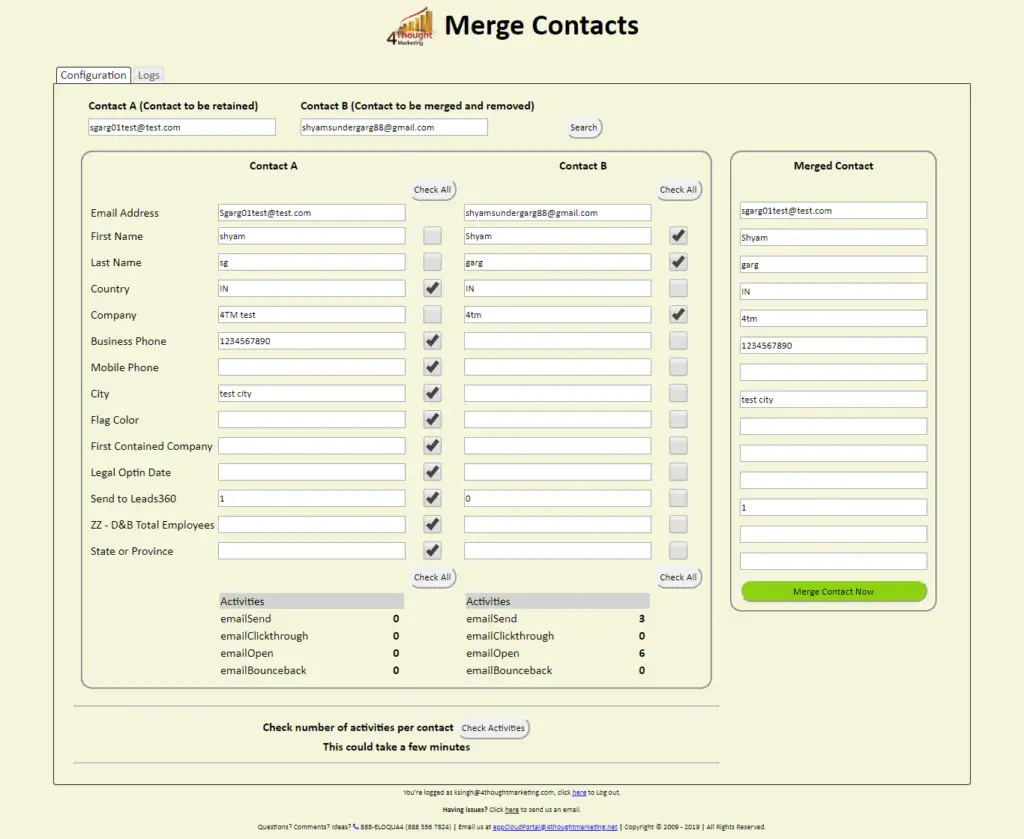
3.5 You can click on the button “Check Activities” to see how many Eloqua activities will be created as External Activities from Contact B to Contact A. (Note: the process of counting activities may take a minute or two depending on the volume of activities). The app will create External Activities for all Eloqua activities of the following types if there is a campaign associated with the activity:
- Email Send
- Email Clickthrough
- Email Open
- Form Submit
3.6 When ready, click on “Merge Contact Now”, and the merge processing will begin.
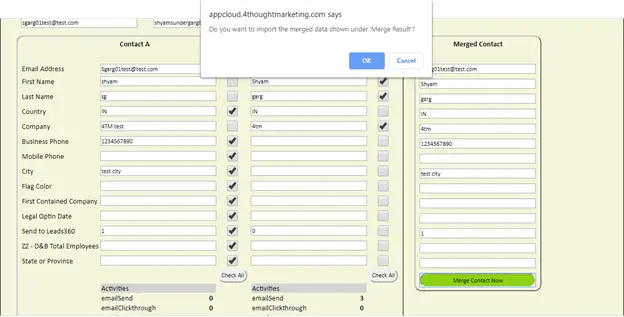
3.7 Once contacts get merged, the appropriate activities from Contact B will be created as external activities for Contact A
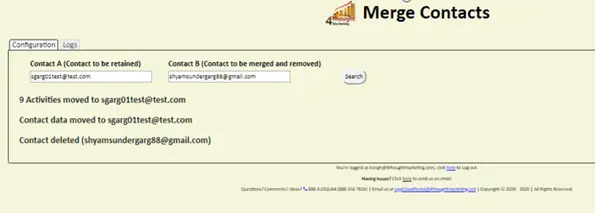
3.8 You can check Contact A to see that the fields get updated based on selection, and that all of the activities of Contact B are created as External activities
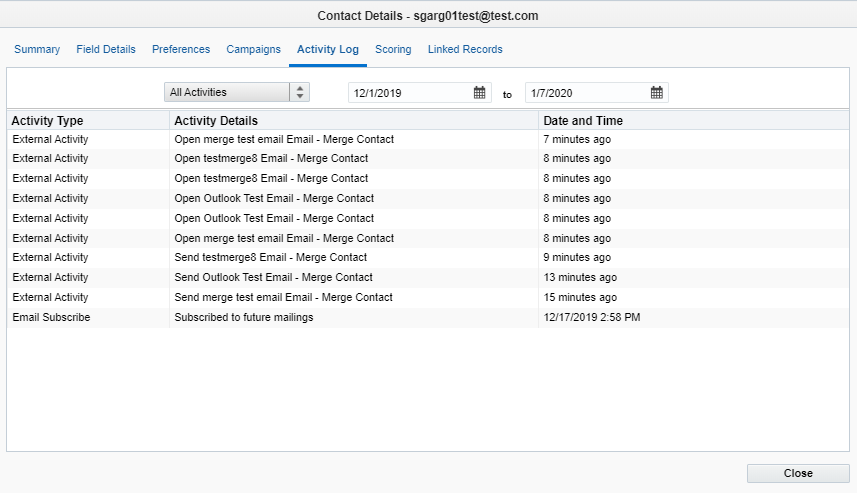
3.9 Contact B deleted from Eloqua

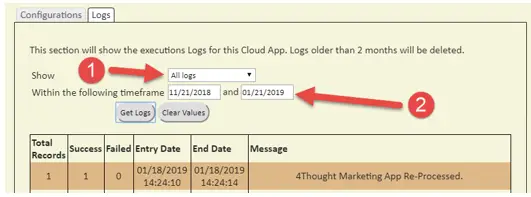
3.10 Logs Tab: This section shows the execution logs for the respective cloud app
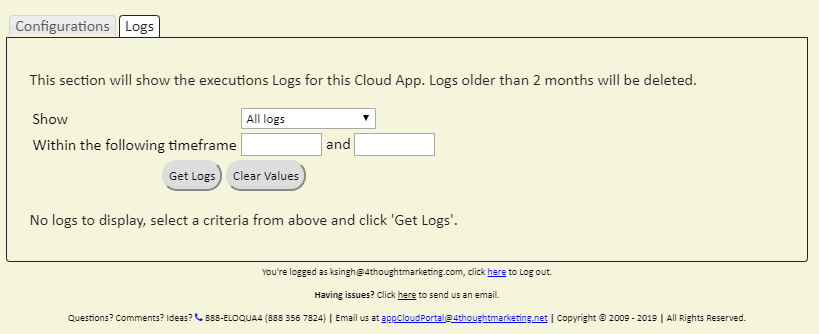
- Show: Here you can select which type of log you want to see. You have an option to select “All logs”, “Successful logs only”, “Failed logs only”
- Within the following timeframe: This field allows you to select the timeframe to view the execution logs.
Note: You can view up to 2 months of logs
Note: Most 4Thought Marketing apps use the Eloqua BULK API to export/import records, therefore when an app is used in a campaign or program the user that activates the campaign should have the following permissions:
- API
- Consume API
- Contacts
- Upload Contacts/Prospects/Companies
- Manage Data Export
- Manage Contacts
- API
License Information
You need a license to configure and execute this Cloud App. If you don’t have a license, an error message will appear on the configuration page.
If you don’t see CO Records being processed by the app, it may be because your license is missing or expired. To obtain a license, contact your account manager or contact us.
- Each Eloqua instance requires a separate cloud app license.
- Each cloud app license includes a reasonable usage limitation of 250k records processed daily and up to 5 app instantiations per Eloqua instance. Higher usage tiers are available at extra cost.
- For additional license details, please review the Cloud Services User License Agreement.

