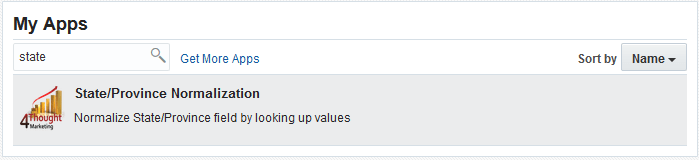
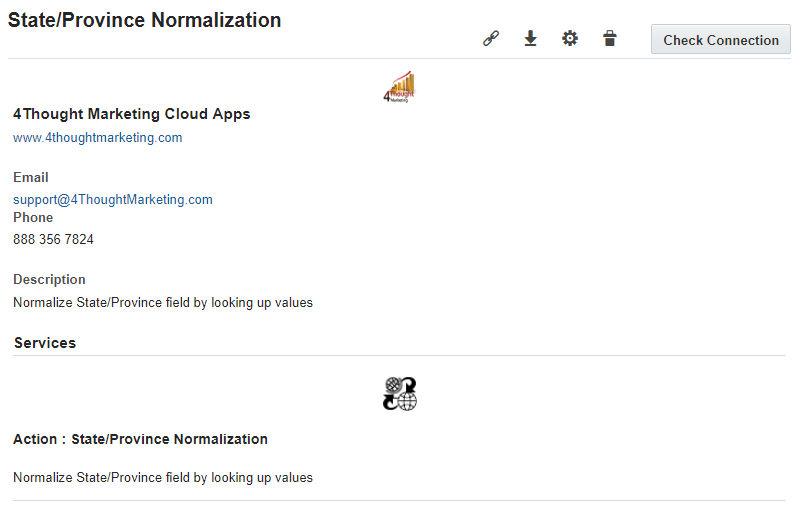
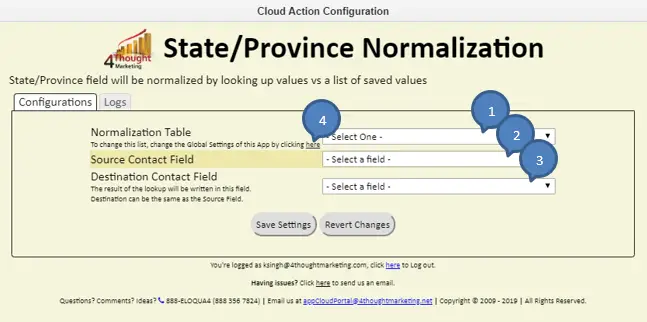
There are situations where the values of state or province fields greatly differ from each other. Even when those values represent the same place. This is where this Cloud Action comes into play. With State/Province Normalization, you can normalize the values in the state, province, or similar fields using your own standard or a general standardization list that we will provide.
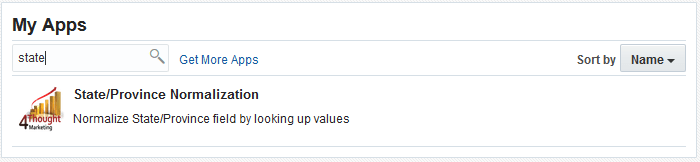
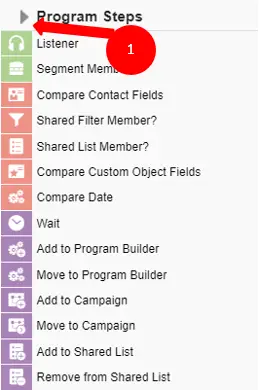
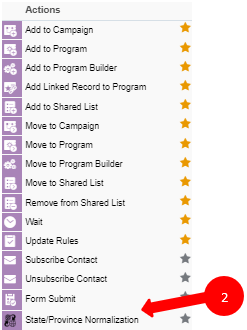
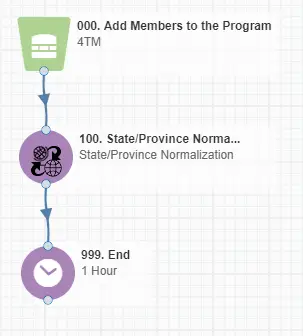
This document will show how this Cloud Action can be used inside Campaign/Program Canvas.
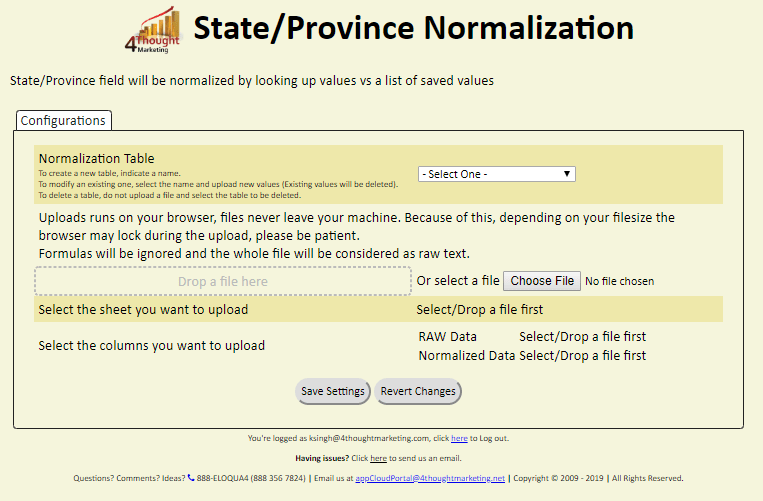
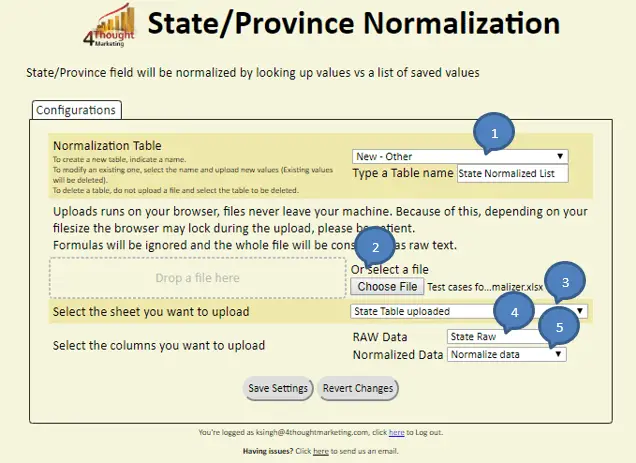
This file can be directly dropped into given area (Dashed box “Drop a file here”) or file can be selected from the local machine by clicking on “Choose File” button (Explained in point no. 2.4.2)
- Select the column you want to upload – After choosing file, you need to select sheet from the file and then need to map columns for Raw Data and Normalized Data.
- Raw Data – Raw data column from the sheet will be used as a source.
- Normalized Data – Normalized data column from the sheet will be used here to define Normalized Values.
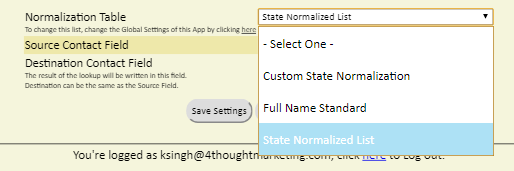
- How to Select/Create Normalization Table –
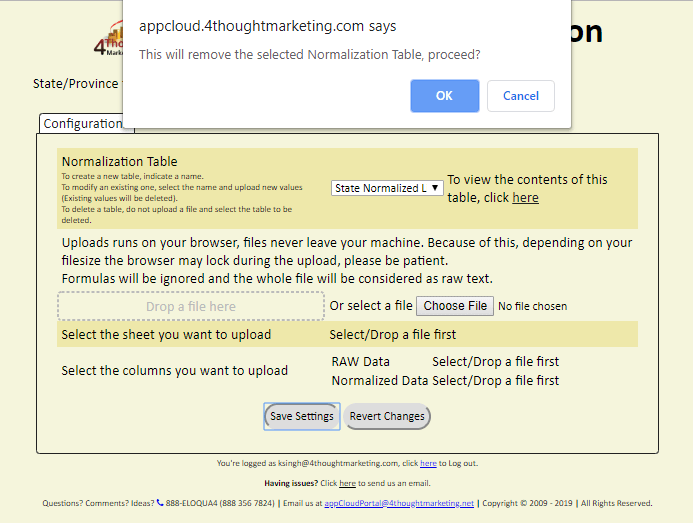
You can add, remove or view the tables saved on the system. These tables are the ones that are going to be used in the app.
- Select the option New-Other to create new table and give name to the table in “Type a Table name” field.
- Choose the file from the location you saved it before and select the sheet to be having raw values and normalized values.
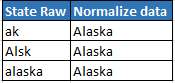
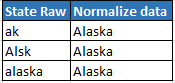
(You can upload the Custom list with the values to normalize. You can upload an Excel file or a CSV by searching for it on your computer or by dragging and dropping the file into the dashed box in the page. This list needs to have 2 columns: Raw value, and Normalized values.
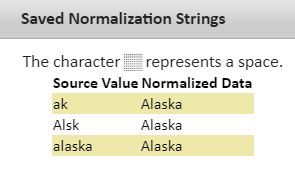
The first column is the list of values that need to be normalized. For example, if you want to normalize State/Province Alaska, then the first column should look something like this: ak, alaska etc.
The second column should be the normalized value we want. So, for example, if you want to normalize to Alaska or AK, then the last value should be Alaska or AK for the 2 variants of the State/Province.)
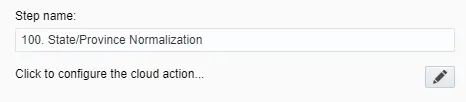
- Click the pencil icon to open the settings for this step.
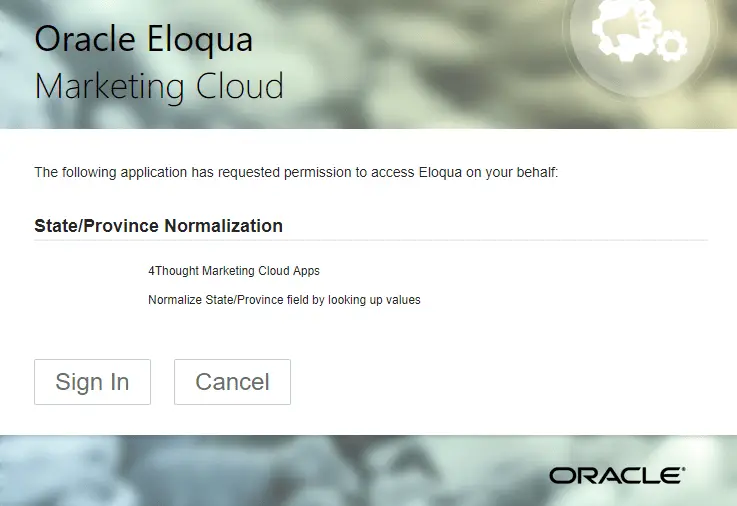
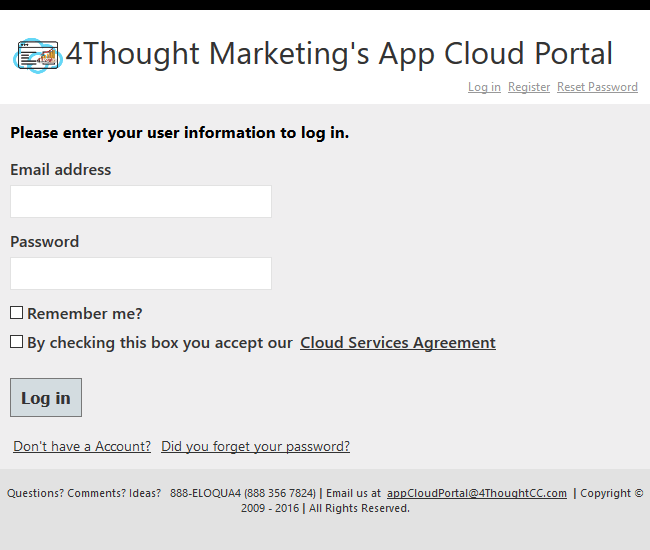
You will need a user to log in and configure this Cloud Action. If you don’t have one, you can create one. If you do, use your user to Log In in the page shown in the following screenshot:
That’s all. Activate the campaign or program, put some Contacts in it and see the State/Province Normalization in action!
Note: Most 4Thought Marketing apps use the Eloqua BULK API to export/import records, therefore when an app is used in a campaign or program the user that activates the campaign should have the following permissions:
- API
- Contacts
- Upload Contacts/Prospects/Companies
You need a license to configure and execute this Cloud App. If you don’t have a license, an error message will appear on the configuration page.
If you don’t see CO Records being processed by the app, it may be because your license is missing or expired. To obtain a license, contact your account manager or contact us.
- Each Eloqua instance requires a separate cloud app license.
- Each cloud app license includes a reasonable usage limitation of 250k records processed daily and up to 5 app instantiations per Eloqua instance. Higher usage tiers are available at extra cost.
- For additional license details, please review the Cloud Services User License Agreement.